
The moment my May issue of Country Living Magazine arrived in my mailbox, I was completely inspired! I mean, look at the cover....the colours, the chalkboard, the fonts...I just knew I need to use this as a jumping off point for my next layout!

And here is what I came up with

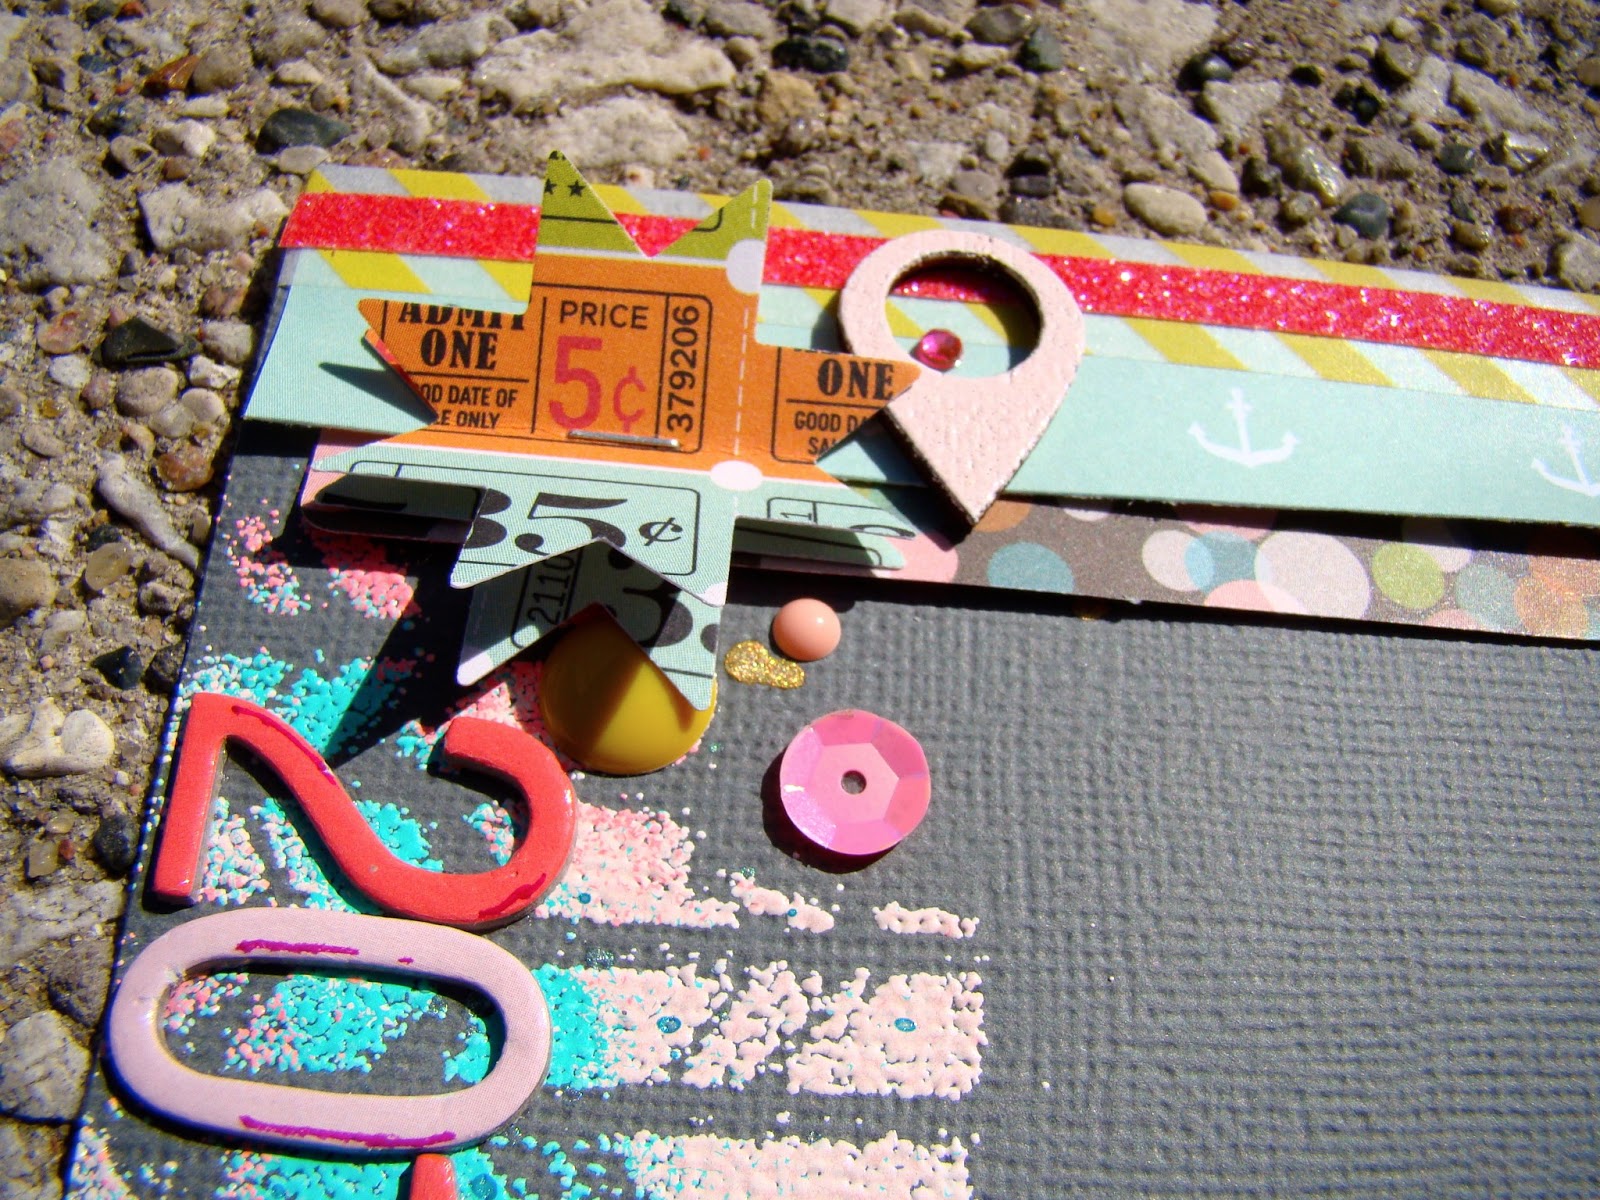 |
| In the top left corner, I used my Jenni Bowlin Quilting Star punch, and punched out 2 stars then stapled them in the middle to the page. I also used some Glitter Tape along the top, and some enamel dots & sequins in the cluster also. |
 |
| Once again I broke out my Paper Bakery Flair (my fav...the vintage milk caps) and added some washi, cabochon, sequins, enamel dots & rhinestones |
 |
| Here you can see the bottom edge I used paper, washi & glitter tape. I also cut out the Photos tab from a journal card from October Afternoons Midway collection. |
 |
| Under my photo here, you can see I layered some wide ombre washi tape. The "hello" & "arrow" have been heat embossed with grapefruit & aqua Zing |
 |
| Here is a close up of the heat embossing I did on the background. You can also see that I splattered some Heidi Swapp Color Shine in Mustard & Tropicana Teal I had lots of inquiries on Instagram as to how I did the heat embossed background, so I will give you a quick run down on how I did it. If you have any further questions, please feel free to ask and I will respond back Heat Embossed Background Supplies VersaMark Ink Pad 3 Embossing Powders (I used Blush, Grapefruit & Aqua Zing) Mask
I hope you give this process a try, and if you do, link it up in my comments, I would love to see it!!!
Thanks for stopping by!
|

The embossing looks great and love the color combo!
ReplyDeleteWhat a totally inspiring layout! Love all the details! And the colours. And the design. And...
ReplyDeleteAlso: thanks for the tutorial. :)
I can see why you'd be inspired by the magazine cover. I love how you incorporated the style of it, and the photo, into your wonderful layout!
ReplyDeleteLove seeing your inspiration!
ReplyDeleteGreat layout, love how,you used the magazine cover for inspiration
ReplyDeleteOh I love that magazine. Have subscribed to it for years and years. Great take on their cover.
ReplyDeleteWow I love your project every little detail is just perfect.
ReplyDeletelove, love, love this!
ReplyDelete