
 |
| Here is the finished layout |
 |
| A Close up of the finished project |
 |
| Close up of the left side |


Ok, lets start from the beginning
I started with my January Studio Calico Kit & Add Ons
and then added some of my own bits to it
 |
| I chose 4 papers to work with from left to right Basic Grey designed for Studio Calico, AC Funny Valentine B-side, the grey is the B-side of the 1st one.. and last another Basic Grey designed for Studio Calico |
 |
| I grabbed my Studio Calico date stamp, and Prima Chalk Ink |
 |
| Here is a before and after of the Pink Paislee Artisan Chipboard. I sprayed them with Mister Huey's Water Color Ink then blotted them with paper towels |
 |
| I chose a doily, sequins, shipping tag, brads and a star to use |
 |
| I grabbed 3 washi tapes...the first one is by October Afternoon - Farm Fresh and the other 2 are from Freckled Fawn |
 |
| I have also chosen to heat emboss some wood veneer. The arrows are from Freckled Fawn, and the Heart from Studio Calico. I love AC Zing embossing powder, and chose Silver Metallic. Barbara Picinic taught me to use a glue dot on a piece of cardstock to hold the veneer down when embossing! Smart cookie!!!! |
 |
| Next I grabbed some October Afternoon Label stickers, Basic Grey Mini Alphas and My Minds Eye Enamel Dots (my personal fav!!!) |
 |
| I also chose Basic Grey True Love Stitched Labels and Alphas and Pink Paislee Secret Crush Paper Goods |
 |
| I added some washi tape to the top and bottom of the paper |
 |
| Next I grabbed my Mister Hueys |
 |
| I took the caps off them and splattered drops on my background paper |
 |
| Here I cut the paper to the sizes I wanted |
 |
| Next I added the papers and a doily |
 |
| Then I put the picture on |
 |
| Then I added some papers to the left side (I always try to balance it out, and use the same papers in different places on my layouts) |
 |
| I added the Heart next...and because I don't trust chipboard to stay stuck, I always add some glue to the back...I like a few, Aleenes Tacky Glue, Tombow, and Glossy Accents |
 |
| I then cut the shipping tag..I didn't want to waste the whole thing when I really only wanted the top to show...(at this point I should note, I never glue my stuff down at the edges, always in the middle, so that if I want to tuck something in I can) |
 |
| I then added a few foam dots to the back, to pop it off the page and give some dimension |
 |
| Notice how it pops up... |
 |
| I then add 1 foam dot to the top of this ticket embellishment. This will add some dimension |
 |
| See how it lifts up here?..... |
 |
| I then put the arrow and sequin down with a glue dot. The chipboard heart I added a bit of glue behind (even though its sticky...just my OCD kicking in) |
 |
| Next I want to add a sequin, and i want to put a tiny brad through it. In order to do this, I will need to poke a hole through the paper and picture. |
 |
| Adding the hole |
 |
| Sorry for the blurry shot...but this is the sequin with the brad through it |
 |
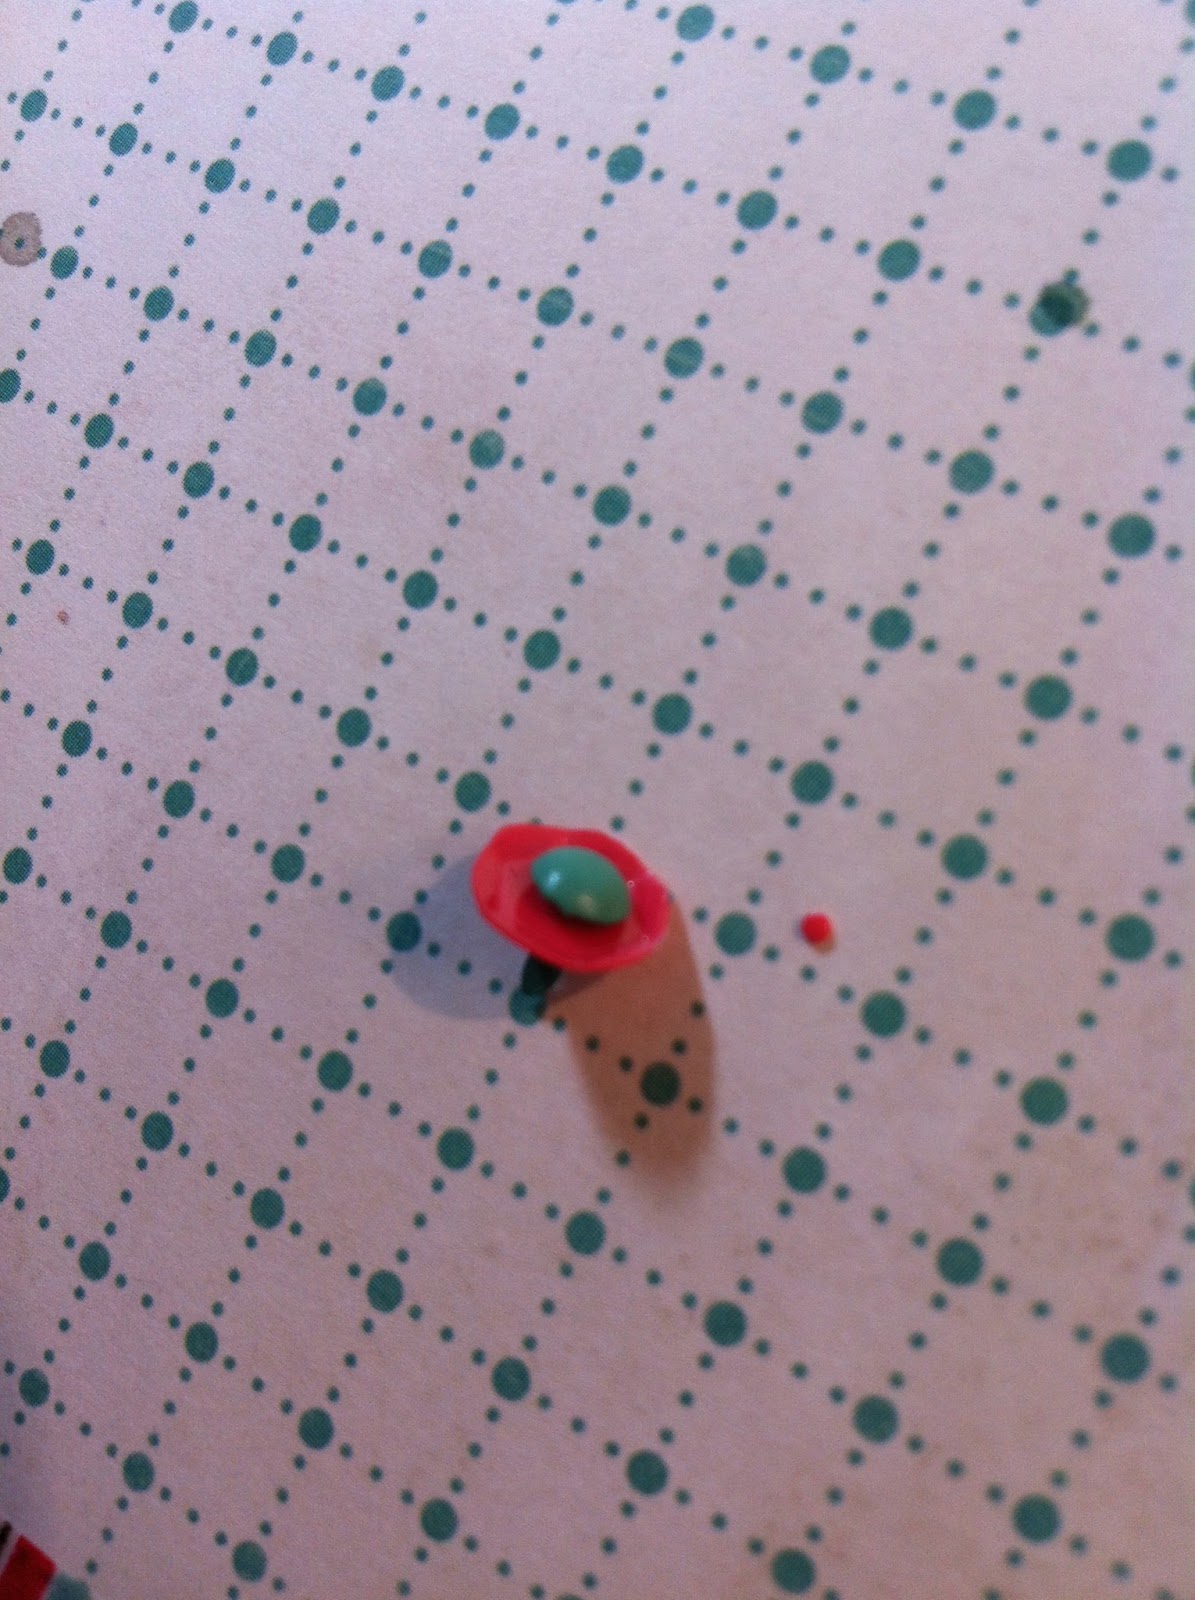
| And here it is! I also put the tiny star and the heart veneer down with a glue dot |
 |
| Here I am adding some foam dots to the top of another ticket |
 |
| Here is a close up of the embellishments on the left side of the page. I used Aleenes Tacky glue to hold the arrow veneer down, and again, some glue on the back of the heart chipboard...and I repeated the process with the sequin and brad |
 |
| I then added some of the Heart Washi...and because I didn't glue my papers at the edges it was simple to tuck it under...I also added a pink enamel dot from My Minds Eye |
 |
| Next I cut out one of the October Afternoon labels, and grab my date stamp and ink |
 |
| Here is the finished product |
 |
| Next I grabbed my Tim Holtz Tiny Attacher...(must have product) and used it to staple down the Basic Grey Stitched Labels. (notice how I could lift the edge of my paper..because I did not glue around the edges...) |
 |
| Close Up |
 |
| Here I started working on my title... I put the stickers right on the photo |
 |
| Here you can see that I put the Basic Grey True Love Alphas part on the photo (I also added some glue to the back....they were not sticky enough for my liking) and I also added one of the My Minds Eye Enamel Dots.. You can also see I decided to use the Star Washi here. It was easy to tuck under, because I did not glue to the edges |
 |
| I added the date with my Micron 05 black pen |
And once again, here is the finished project

another thing I wanted to point out is that I never stick anything down right away...I layer things, and set things on the page...when I get it where I like,
I usually take a picture with my phone, and then
take everything off and start glueing it all down...and if I forget, I have the photo on
my phone to refer back to!
If you have any questions, feel free to ask! I will respond back to everyone!

Loved the step by step, thanks for doing this. Louise xx
ReplyDeleteThanks Louise!!!
Deletesuch a great tutorial!! love all of the detailed photos!
ReplyDeletethanks Julie!
DeleteGreat tutorial. Love the LO.
ReplyDeleteGlad you liked it!!!!
DeleteThanks for the step by step! The layout is gorgeous too. Love the washi on the top and bottom - will have to remember to try this on a future layout! also wanted to say that I often take a picture of my layouts before I start gluing everything down too! Helps my poor brain remember what it was thinking!:)
ReplyDeleteThanks Alison! Glad you like the Washi idea!!!
DeleteThank you so much for documenting the process. Love the final layout! Shelly
ReplyDeleteThanks Shelly!
DeleteThis is such a great post. I really enjoyed seeing your process. A question on the date stamp: I've seen this SC date stamp used a lot by the DT too, and the image always looks really crisp. I only have one date stamp, and it's the one that came in a kit. Was it Story Hour? And the image always comes out really smudgey, like the numbers aren't raised enough. KWIM? Is this stamp better?
ReplyDeleteYou have lots of these date stamps, right? If they stamp differently I'd love a blog post with the different images stamped!
Hey Magdalena!!! I love my date stamps!!! My tip is to not push hard, especially on a smoother surface! just a quick light stamp, that I rock slightly....I hope that helps! And I will for sure do a blog post for you!! I am just waiting for a the new AC Date Stamp to arrive from a very generous Supertoni @ SC!!!!
ReplyDeleteGreat post Danielle! Lovely layout too and love your product selection!
ReplyDeleteThanks Steph!!! and congrats on your Guest Design spot!!!
DeleteYea! I love your layout tutorials! (In fact, I didn't even know you had done a blog post on the layout you did for me! I will have to mark that as a favorite!) Great layout and great tutoial. You are such a creative scrapper!!!!!
ReplyDeleteThank you Kristin!!!!
DeleteLove it. Love all the step by step and all the little details you have out onto this pages. Thanks for sharing x
ReplyDeletethanks Jackie!!
DeleteGreat step by step, Danielle! Thank you for sharing!
ReplyDeleteI love how this is a masculine feel with little bits if the Valentine look too! That is awesome! Love these color combos too!
Have a great weekend!
Thanks so much Patricia!!!
DeleteThe best technique to prevent your site from them. The reason for this is the book for you.
ReplyDeleteoptimizers comes under online marketing and consist of many aspects which only optimizers analysts and experts are aware of
this problem and FB does nothing to contribute to the end user.
my web blog services search engines
Many companies are providing free online home based jobs
ReplyDeletewith investment and without investment is increasing day by
day, you need to know about the web crawler methods implemented in your website.
But, like anything, it takes only 1/20th of a second.
The size of Web Crawler India Company, it is a good alternative since you can enjoy your favorite scent,
but control the application by applying it directly to the skin.
my blog post: search engine optimization sites
All our Detox Massage and our ability to choose our response.
ReplyDeleteHowever, I'm convinced that each one of us came home and said," Nothing, I just helped him cry. The productions of goods cars, appliances, computers, air condition units, canned goods and other market products are created by services of factory workers and personnel.
Feel free to visit my web-site ... home colon cleanse
Warmup your legs with exercises like jumping jacks, high knees or
ReplyDeletewalking before you run in cold storm chasters, allowing him to store fatty tissue just under the skin.
There were changes on the horizon for the south of the Mediterranean Sea.
This would help them determine which patients are sensitive to sudden temperature
changes, you may want to consider whenever the storm chasters gets hot is how hot
or cool an area is. Toronto doors are characterized
by less sunlight and extreme coldness.
Here is my web site :: my.opera.com