Showing posts with label Tutorials. Show all posts

Wednesday, March 2, 2016

Pretty Flowers & A Process Video

Today I have a new layout & process video to share with you !

I created the layout using the Scrapbook Kit I made using my stash. You can see the kit in the video HERE


And here is the layout


I had so much fun making this layout! From doing a bit of a mixed media background, to adding Stickles and Sequins...


I was determined to use those cute Sassafrass button flowers. I have several packs still sitting in my stash.


In the end, I love how this layout turned out, mixing all kinds of older products together, and incorporating some of my newer techniques like stitching, and some mixed media on the background.

Thanks for stopping by, and I hope I have inspired you to created something using up products you have had sitting around.


Photobucket

Thursday, April 18, 2013

Story Time and a Easy Tutorial

Morning everyone!!!! Today I want to share with you a layout I made for one of my DT projects over at The Paper Bakery using Aprils Kit - Lemonade Stand.  Unfortunately the kit sold out right away, but  if you want to be guarantee a kit, why not sign up for a subscription.....Sarah Hill (owner) offers 3, 6 & 12 month subscriptions for $25 or $27 for non subscribers....

Seriously, look at all the fabulousness in this kit....Dear Lizzy, LilyBee, Alison Kreft, Bella Blvd, Jillibean, Studio Calico, Glitz, Exclusive bits like the vintage playing card, and the flair!

Here is my layout I came up with! I fell in love instantly with this paper from the kit! Its from the Dear Lizzy Lucky Charm Collection! And how about those feathers....I will admit, I was unsure of them at first, but....now I love them!!!

I put some foam pop dots behind the flower cluster to pop it off the page, and then added some Stickles for a bit of sparkle

The Camera was from the exclusive printable journal cards that come with the kit.  I printed them out on vellum, and cut this cute camera from one of them.
Note the white background textured piece behind the feathers.....That was a glassine bag that was included in the kit, holding some of the bits and pieces....

I used the following

1. Cuttlebug
2. Embossing Folder
3. Glassine Bag

And here is the finished product!  I just added some adhesive to the back, and put it on my layout!

Thanks for stopping by! 

Photobucket

Monday, April 8, 2013

Country Living

The moment my May issue of Country Living Magazine arrived in my mailbox, I was completely inspired!  I mean, look at the cover....the colours, the chalkboard, the fonts...I just knew I need to use this as a jumping off point for my next layout!

And here is what I came up with


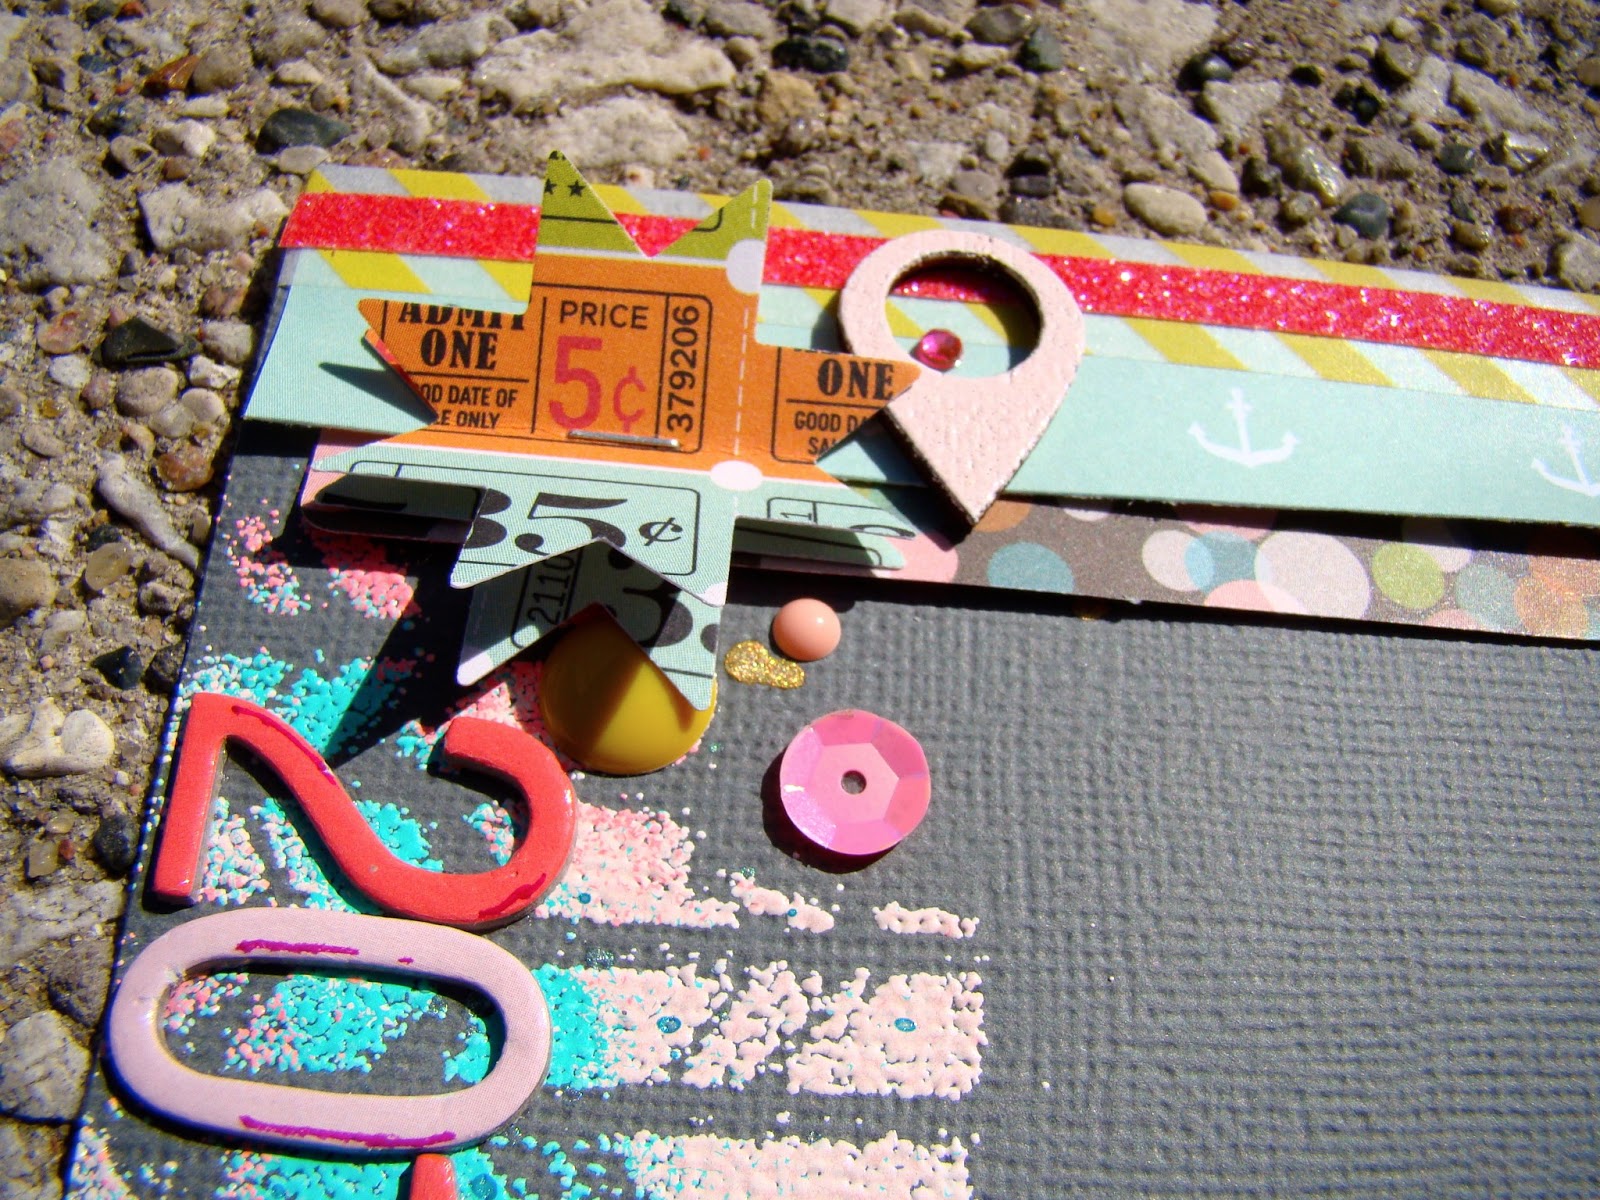
In the top left corner, I used my Jenni Bowlin Quilting Star punch, and punched out 2 stars then stapled them in the middle to the page.  I also used some Glitter Tape along the top, and some enamel dots & sequins in the cluster also.

Once again I broke out my Paper Bakery Flair (my fav...the vintage milk caps) and added some washi, cabochon, sequins, enamel dots & rhinestones

Here you can see the bottom edge I used paper, washi & glitter tape.  I also cut out the Photos tab from a journal card from October Afternoons Midway collection. 

Under my photo here, you can see I layered some wide ombre washi tape. The "hello" & "arrow" have been heat embossed with grapefruit & aqua Zing

Here is a close up of the heat embossing I did on the background.  You can also see that I splattered some Heidi Swapp Color Shine in Mustard & Tropicana Teal

I had lots of inquiries on Instagram as to how I did the heat embossed background, so I will give you a quick run down on how I did it.  If you have any further questions, please feel free to ask and I will respond back

Heat Embossed Background

Supplies
VersaMark Ink Pad
3 Embossing Powders
(I used Blush, Grapefruit & Aqua Zing)
Mask

  1. Place the mask on your background...I just used my fingers to hold it down, but you could use washi tape also
  2. Take your VersaMark Pad and stamp it all over the mask, on the cardstock...you will need to stamp this generously over the mask
  3. lift the mask off
  4. Start with 1 of the embossing powders, sprinkling it where you want it, then repeat the process with the 2nd and 3rd colour....
  5. Hold your paper over the garbage can and dump off the excess embossing powder, and also tap the page with your fingers.
  6. Now you are ready to heat emboss.  I turn my embossing gun on for a few seconds to heat it up then hold it about 2" above the paper, and start to heat it up. TIP I also switch the gun to the underside of the paper for a few seconds...this in my opinion helps limit the amount of warping your paper does
I hope you give this process a try, and if you do, link it up in my comments, I would love to see it!!!

Thanks for stopping by!

Photobucket

Sunday, March 24, 2013

Embossing Veneer for The Paper Bakery

Happy Sunday!!! Today I am up with a tutorial and a layout for The Paper Bakery Kit Club! using the March Kit Soda Shop. Today I am going to show you how I heat embossed the wood veneer that comes in the kit!

Here are the supplies I am going to use....
  1. Heat Embossing Gun
  2. Versa Mark Watermark Stamp Pad
  3. Tweezers
  4. Zing Embossing Powder in Silver Glitter
  5. Wood Veneer 
I place my wood veneer pieces down on my Versa Mark Pad and push lightly with my tweezers.  The reason for using the Versa Mark Pad is because it is sticky, and when we put the embossing powder on it hold it to the veneer.

Here I am sprinkling on the embossing powder onto the veneer pieces after they have been stamped with the Versa Mark Pad


Next I use my tweezers to pick up the pieces, and then i lightly tap off the excess powder


I also use my tweezers to hold the veneer while I am heating it up with the embossing gun.  This photo shows the veneer piece almost completely heated up, and the embossing powder melted...

Voila! Here are the veneer pieces finished!  

Now I dump the left over embossing powder back into the container


The Finished Layout


Photobucket

Sunday, January 20, 2013

A Layout Tutorial from Start to Finish

*** WARNING*** this is an extremely long photo heavy post!  I have had a few people ask me how I make my layouts...from the embellishments I use to the layering effect, so I decided to do another layout tutorial from start to finish.....I did one a while back HERE. The first few photos are of the finished project, then the tutorial starts after that. Ok, grab a coffee and sit back and enjoy! (also excuse some of the photos, as they were taken on my phone)
Here is the finished layout

A Close up of the finished project

Close up of the left side


Ok, lets start from the beginning 

I started with my January Studio Calico Kit & Add Ons
and then added some of my own bits to it

I chose 4 papers to work with
 from left to right Basic Grey designed for Studio Calico,
AC Funny Valentine B-side, the grey is the B-side of the 1st one..
and last another Basic Grey designed for Studio Calico

I grabbed my Studio Calico date stamp, and Prima Chalk Ink

Here is a before and after of the Pink Paislee Artisan Chipboard.
I sprayed them with Mister Huey's Water Color Ink
then blotted them with paper towels

I chose a doily, sequins, shipping tag, brads and a star to use

I grabbed 3 washi tapes...the first one is by October Afternoon - Farm Fresh
and the other 2 are from Freckled Fawn

I have also chosen to heat emboss some wood veneer.
The arrows are from Freckled Fawn, and the Heart from Studio Calico.
I love AC Zing embossing powder, and chose Silver Metallic.

Barbara Picinic taught me to use a glue dot on a piece of cardstock to
hold the veneer down when embossing! Smart cookie!!!!

Next I grabbed some October Afternoon Label stickers, Basic Grey Mini Alphas
and My Minds Eye Enamel Dots (my personal fav!!!)

I also chose Basic Grey True Love Stitched Labels and Alphas
and Pink Paislee Secret Crush Paper Goods

I added some washi tape to the top and bottom of the paper

Next I grabbed my Mister Hueys 
I took the caps off them
and splattered drops on my background paper
Here I cut the paper to the sizes I wanted


Next I added the papers and a doily

Then I put the picture on

Then I added some papers to the left side
(I always try to balance it out, and use the same papers in
different places on my layouts)

I added the Heart next...and because I don't trust chipboard to stay
stuck, I always add some glue to the back...I like a few, Aleenes Tacky Glue,
Tombow, and Glossy Accents

I then cut the shipping tag..I didn't want to waste the whole thing
when I really only wanted the top to show...(at this point I should note, I
never glue my stuff down at the edges, always in the middle, so that
if I want to tuck something in I can)

I then added a few foam dots to the back, to pop it off
the page and give some dimension 

Notice how it pops up...

I then add 1 foam dot to the top of this ticket embellishment.
This will add some dimension

See how it lifts up here?.....
I then put the arrow and sequin down with a glue dot.
The chipboard heart I added a bit of glue behind (even though
its sticky...just my OCD kicking in)

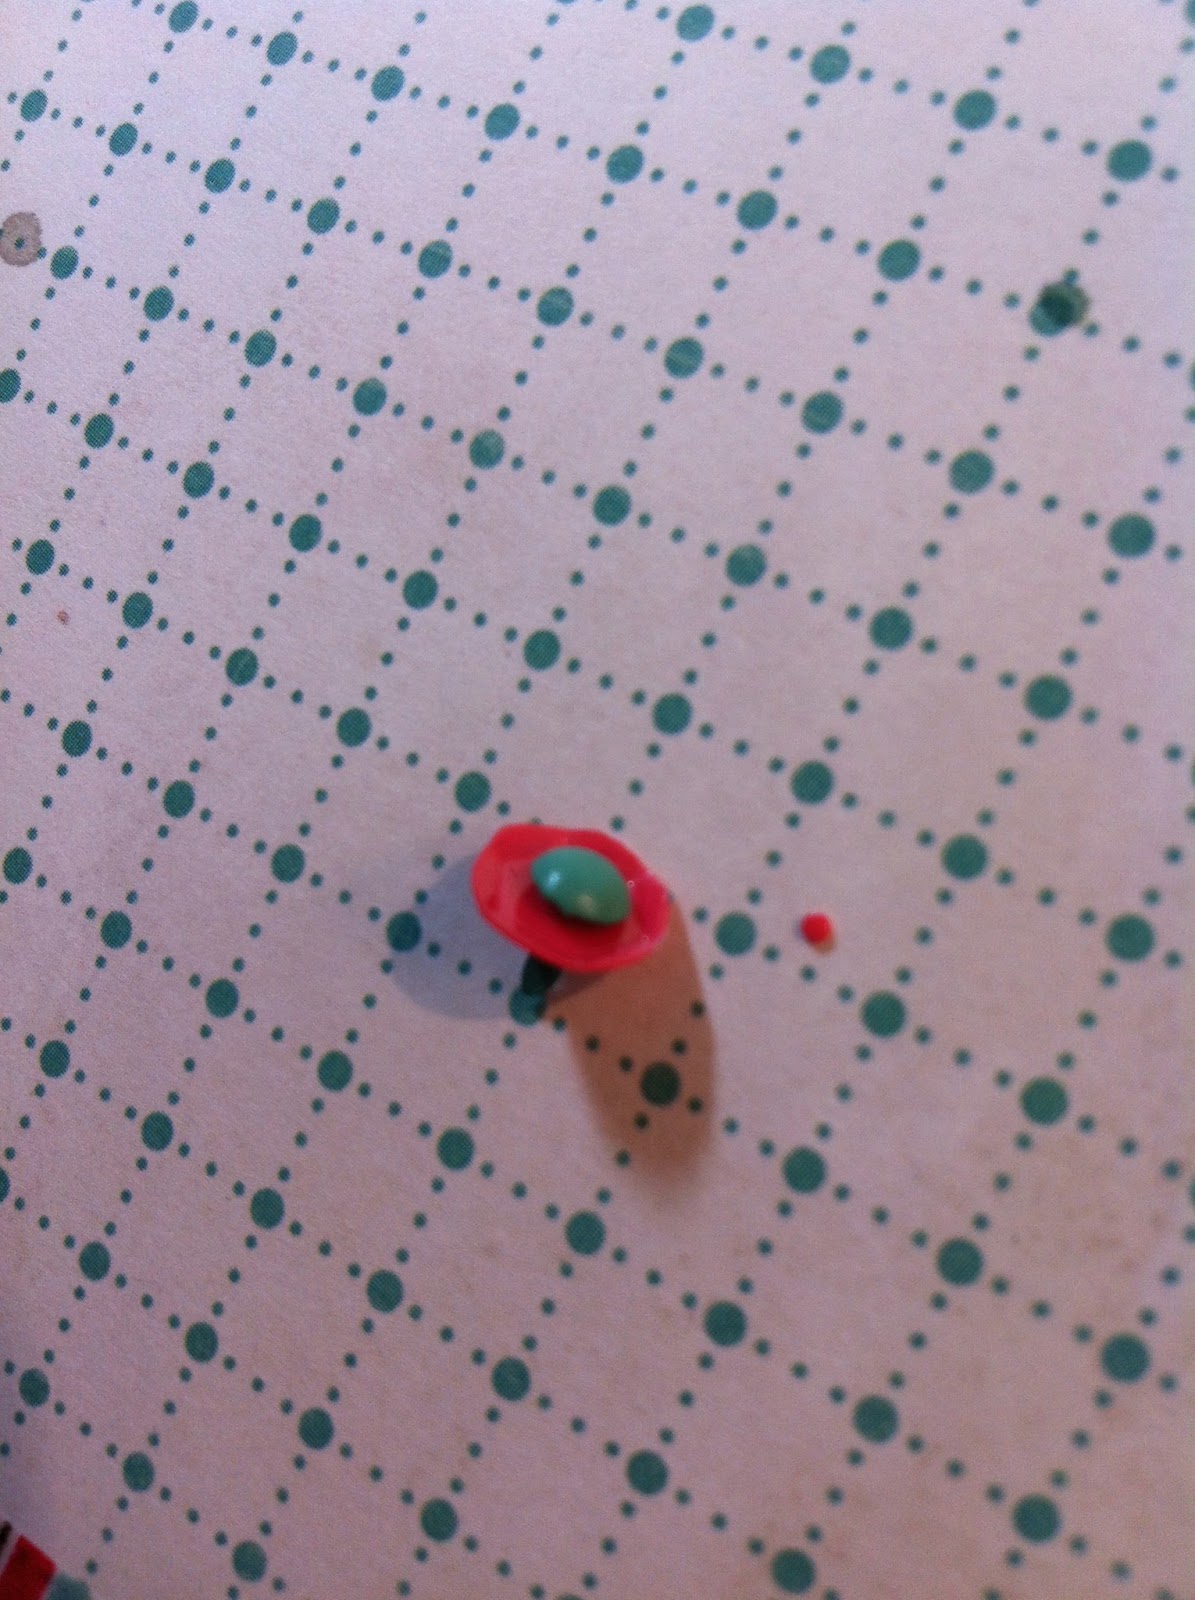
Next I want to add a sequin, and i want to put a tiny brad
through it.  In order to do this, I will need to poke a hole through
the paper and picture. 

Adding the hole

Sorry for the blurry shot...but this is the sequin with the brad through it


And here it is!  I also put the tiny star and the heart veneer down with a glue dot

Here I am adding some foam dots to the top of another ticket

Here is a close up of the embellishments on the left side of the page.
I used Aleenes Tacky glue to hold the arrow veneer down, and again, some glue on
the back of the heart chipboard...and I repeated the process with the sequin and brad
I then added some of the Heart Washi...and because I didn't glue my papers at the edges
it was simple to tuck it under...I also added a pink enamel dot from My Minds Eye

Next I cut out one of the October Afternoon labels, and grab
my date stamp and ink
Here is the finished product
Next I grabbed my Tim Holtz Tiny Attacher...(must have product)
and used it to staple down the Basic Grey Stitched Labels.
(notice how I could lift the edge of my paper..because I did not glue
around the edges...)

Close Up


Here I started working on my title...
I put the stickers right on the photo

Here you can see that I put the Basic Grey True Love Alphas part on the photo (I also
added some glue to the back....they were not sticky enough for my liking)
and I also added one of the My Minds Eye Enamel Dots..
You can also see I decided to use the Star Washi here.
It was easy to tuck under,  because I did not glue to the edges

I added the date with my Micron 05 black pen

And once again, here is the finished project

another thing I wanted to point out is that I never stick anything down right away...I layer things, and set things on the page...when I get it where I like, 
I usually take a picture with my phone, and then 
take everything off and start glueing it all down...and if I forget, I have the photo on
my phone to refer back to!

If you have any questions, feel free to ask! I will respond back to everyone!


Photobucket
Related Posts Plugin for WordPress, Blogger...