Sunday, March 31, 2013

Paper Bakery Soda Shop Kit & Project Life


Happy Easter Everyone!  Today I am up with a new project using The Paper Bakery's March Scrapbook Kit - Soda Shop.  I chose to do a Project Life spread along with an insert for the week using one of the Elle's Studio Paper included in the kit...It is a weekly calendar page! 

Here is the Left Side of my PL Spread

Here is the Insert page I made using the Elle's Studio Paper that is included in the kit!


 Here is the back of the Insert Page


Here is the Right Side of my PL spread


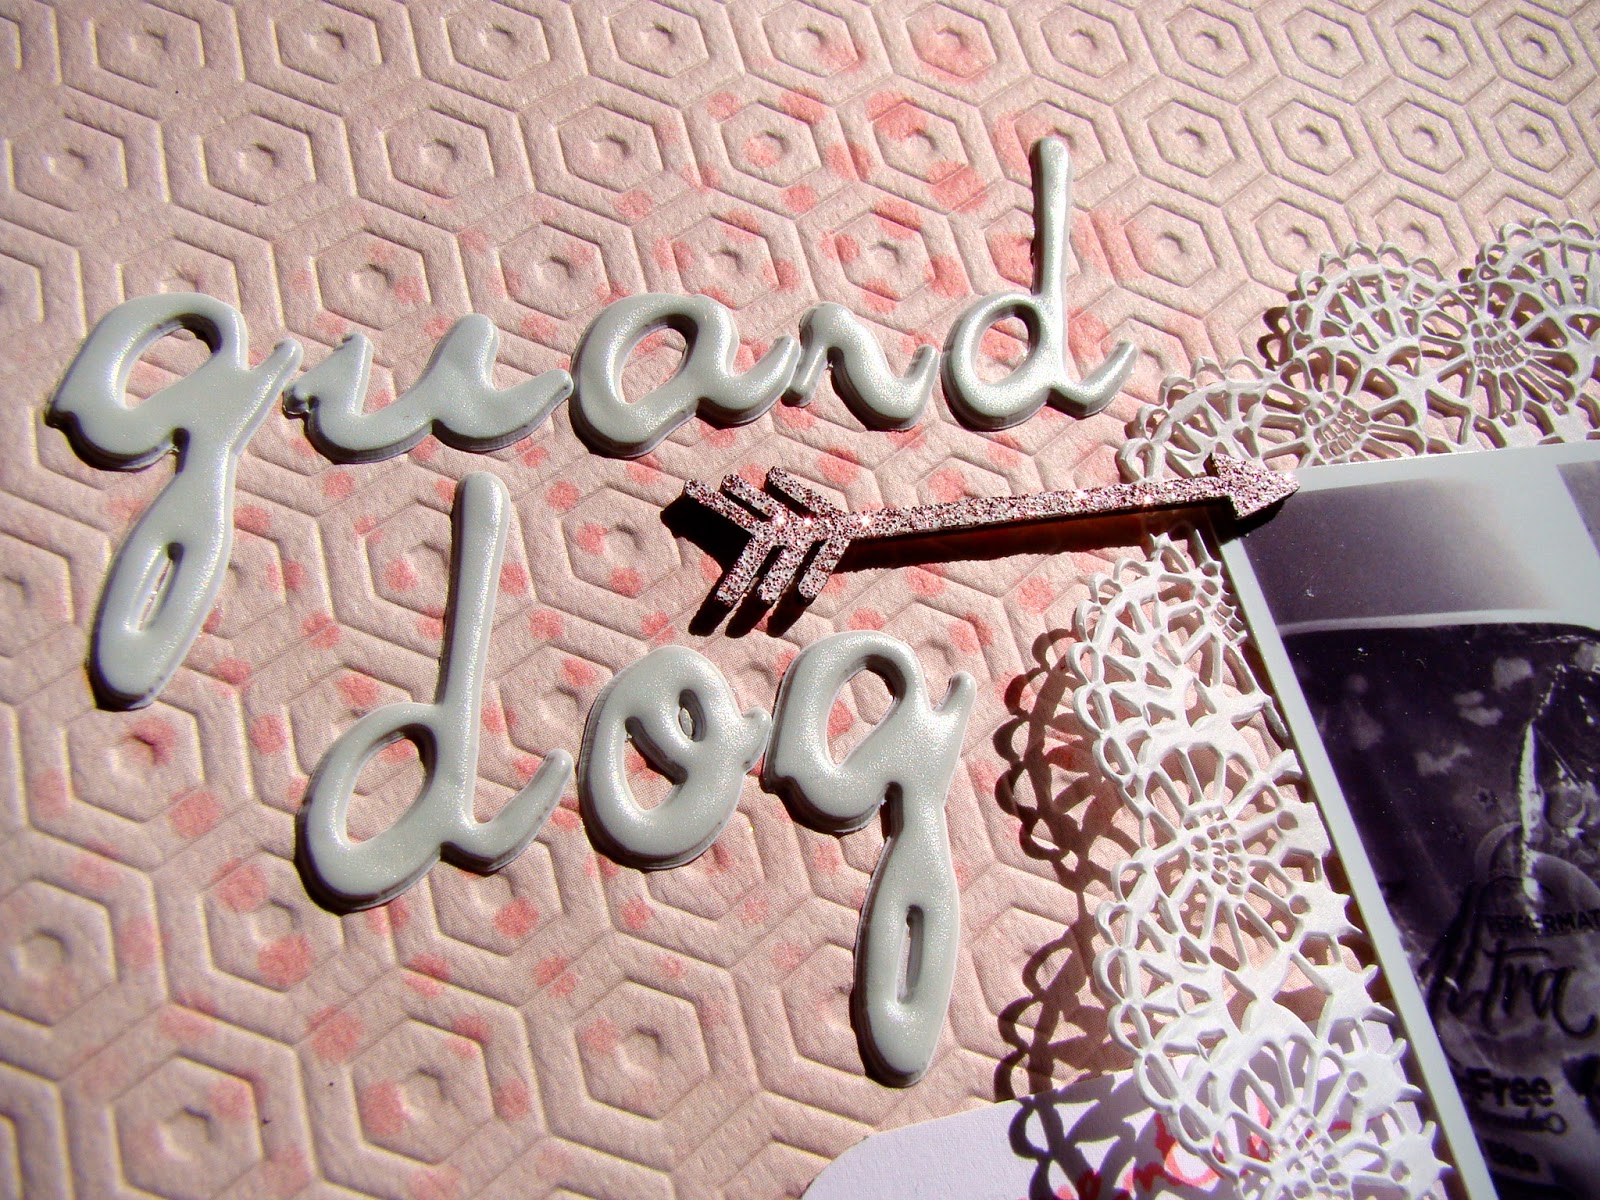
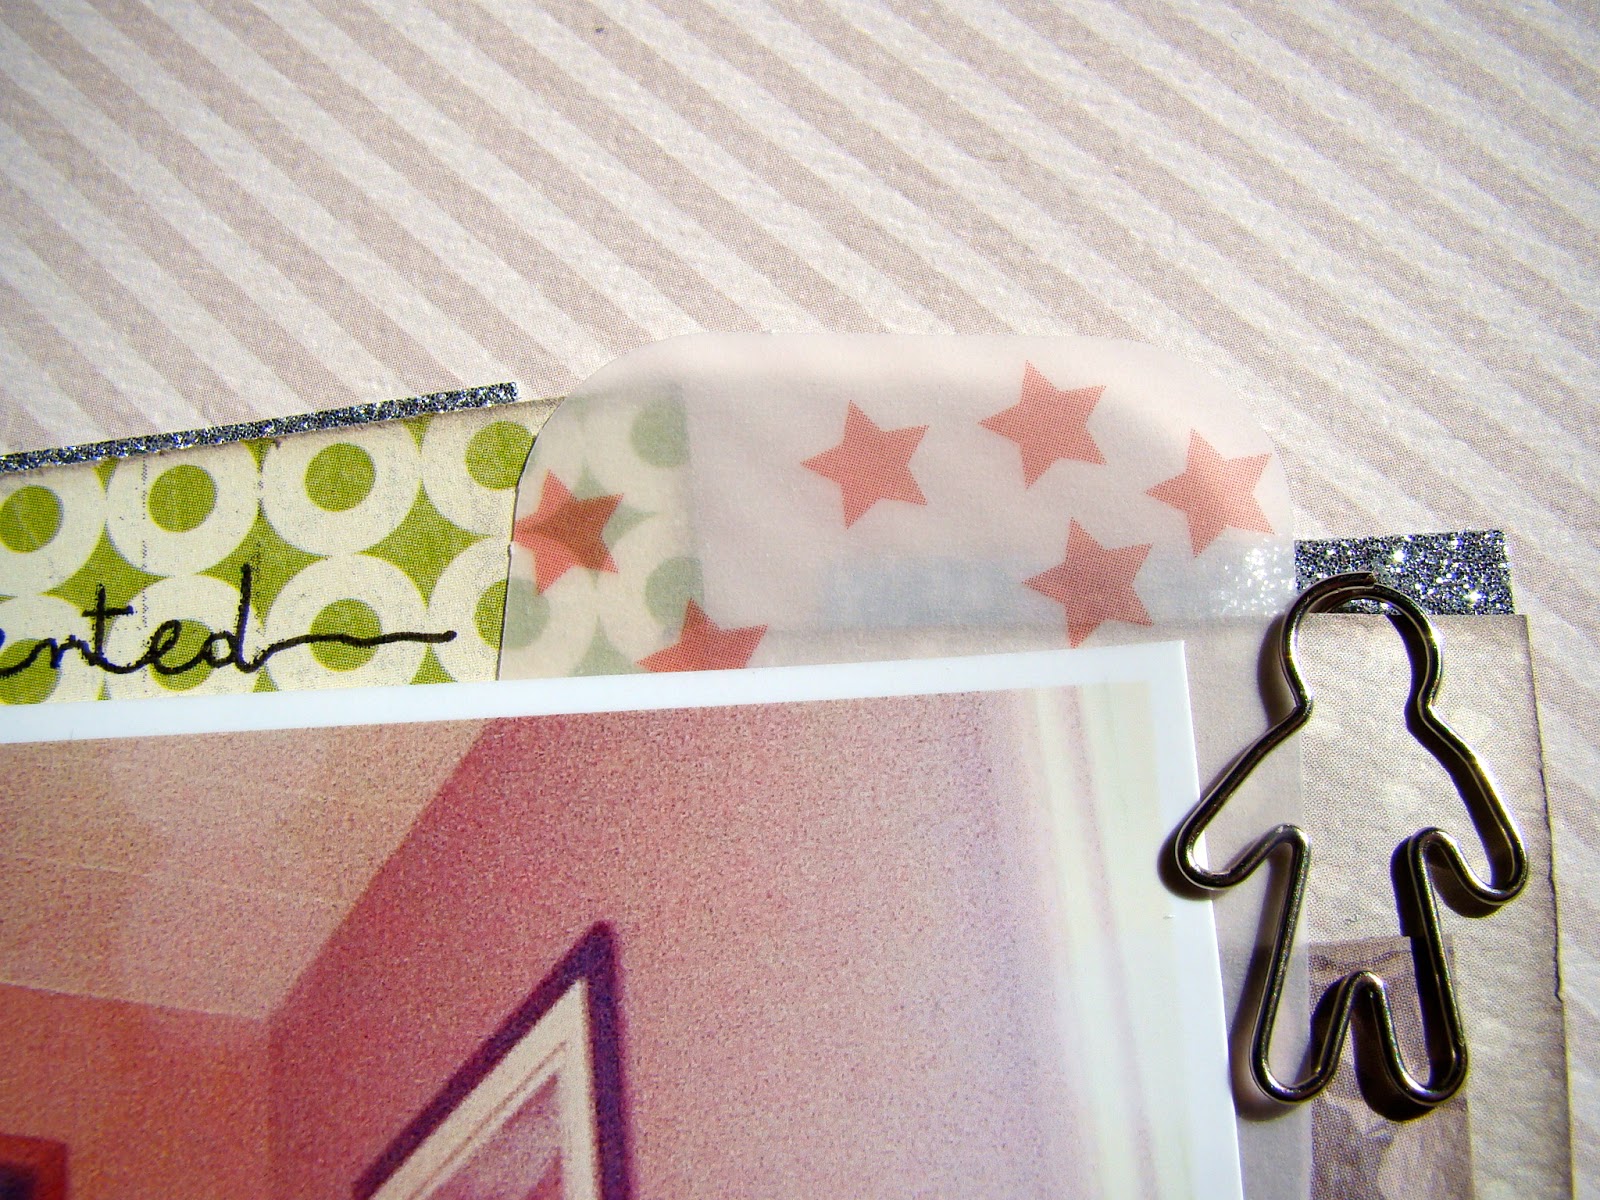
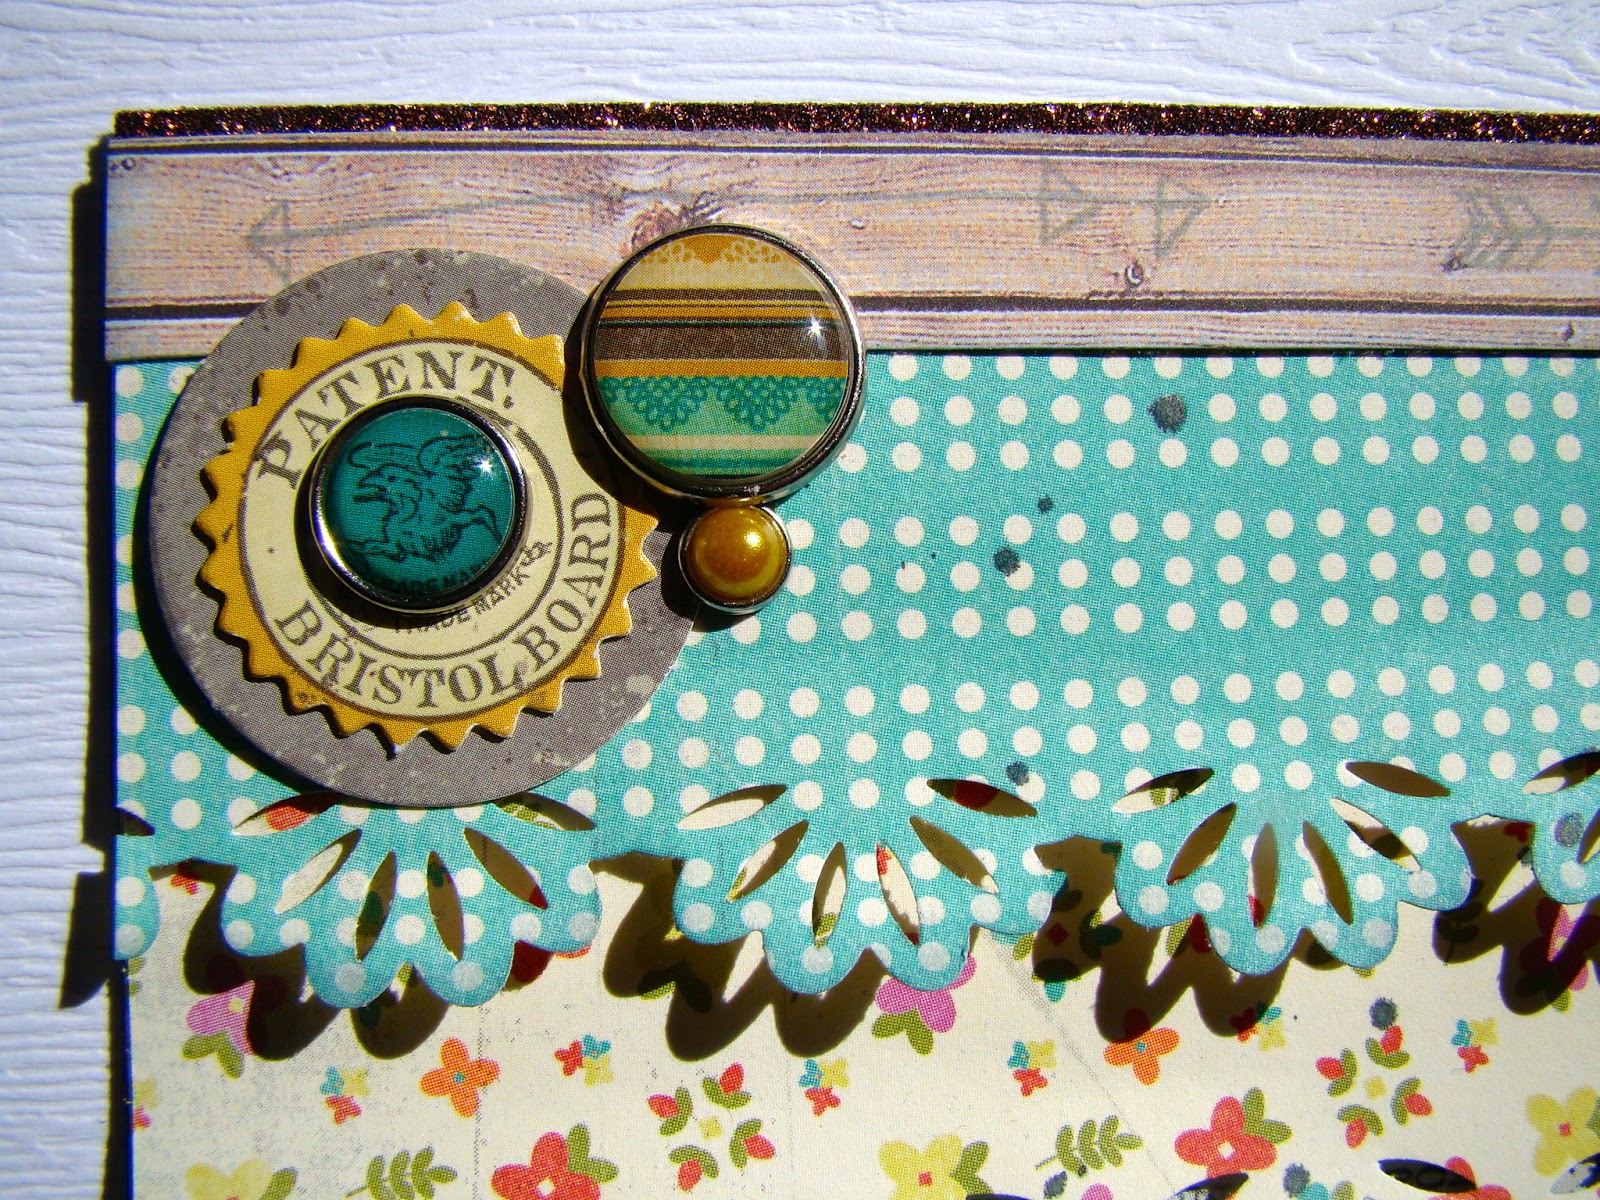
And here are some close up's


I think that the Elle's Studio paper thats included in the  Paper Bakery Kit - Soda Shop along with all the embellishments are the perfect pair for a project life spread!!!

Check out the Kits HERE....And did you know that they also do subscriptions for 3, 6 & 12 month intervals?!!! and you save $$ subscribing!!  (and you didn't hear it from me but the next kit is AMAZING!!!!)

Thanks for taking time to check out my project on this holiday weekend, and I hope that I have inspired you in you Project Life spreads!


Photobucket

Monday, March 25, 2013

Some New Layouts!


Good morning!  I have another
3 layouts to share with you this morning.


Thanks for stopping by!!!
Photobucket

Sunday, March 24, 2013

Embossing Veneer for The Paper Bakery

Happy Sunday!!! Today I am up with a tutorial and a layout for The Paper Bakery Kit Club! using the March Kit Soda Shop. Today I am going to show you how I heat embossed the wood veneer that comes in the kit!

Here are the supplies I am going to use....
  1. Heat Embossing Gun
  2. Versa Mark Watermark Stamp Pad
  3. Tweezers
  4. Zing Embossing Powder in Silver Glitter
  5. Wood Veneer 
I place my wood veneer pieces down on my Versa Mark Pad and push lightly with my tweezers.  The reason for using the Versa Mark Pad is because it is sticky, and when we put the embossing powder on it hold it to the veneer.

Here I am sprinkling on the embossing powder onto the veneer pieces after they have been stamped with the Versa Mark Pad


Next I use my tweezers to pick up the pieces, and then i lightly tap off the excess powder


I also use my tweezers to hold the veneer while I am heating it up with the embossing gun.  This photo shows the veneer piece almost completely heated up, and the embossing powder melted...

Voila! Here are the veneer pieces finished!  

Now I dump the left over embossing powder back into the container


The Finished Layout


Photobucket

Friday, March 22, 2013

3 New Layouts


Today I am posting 3 new layouts, that I made over the past few weeks.  I have started scrapping 8.5 x 11 lately and loving it!!! I completely thank Caz Hancock for this!!! I was totally creeping her blog one day and loving her work, and I mentioned something to her about the size, and she told me to just do one and try it.....I did, and now, I am in love! 


I am really loving shaped paperclips right now!  This one was given to me as part of my Christmas Scrapbook Swap from a friend in Singapore 

The top of this layout is layered with paper, washi tape and garland.  I used AC Glitter Tape in Silver on the shipping tag.

This entire page was made with a border punch


Here I heat embossed "Swell" Wood Veneer with AC Zing Copper Glitter embossing powder, and the "arrow" Wood Veneer was heat embossed with AC Zing embossing powder Gold Glitter

The top of this page was done in AC Brown Sugar Glitter Tape. I also stamped the arrows using Tim Holtz Distress Ink in Weathered Wood

 I loved this pattern paper , but it was too "loud" for the picture and the layout.  So to soften it up I layered the entire background in vellum.

The "Neat" Wood veneer was heat embossed with AC Gold Glitter Embossing Powder 

The edges of this layout were layered with pattern paper and washi tape


In the top left corner I added a cluster of things.  The doily was cut out of vellum on my Cameo.  The yellow button was hand stitched on.  I added a wood veneer arrow that was heat embossed in Gold Glitter Zing, and added an enamel dot

Thanks for looking! 
If you have any questions feel free to ask!
Photobucket

Thursday, March 21, 2013

Love you to pieces

Hello!!!  Today I am posting some of my layouts 
that I have worked on this week..

I love that flair!!! its from The Paper Bakery and its from the Flash Photography Set. And right now all flair ships for free...-just check off the box that says ship with my kit, even if you are not buying a kit...and it will not add a shipping charge!

Also in the top corner, I laid down a mask, and stamped with my gold ink pad over to achieve that look.  I also splattered some Mister Hueys Silver across the page

I misted my paper with Mister Hueys Blizzard  and used the new Amy Tangerine Rub ons

the bottom & top border are a mix of 4 things,
 glitter tape, paper, ribbon & washi


For the clouds, I first used my Dylusions Ink Spray in Calypso Teal, and sprayed some on my Craft Mat, then sprayed some water on it. I mixed it together and painted some of the clouds like using watercolours.  Next I hand stitched them, and added some Stickles for sparkle

Here I stamped with gold ink which is my
new favourite must have!

and here I used one of my masks, layered gesso on it (white paint would work too) and then placed it on the paper and pressed down. Easy Peasy!

Thanks for checking out my latest creations!

Photobucket
Related Posts Plugin for WordPress, Blogger...