
 |
| Here is the finished layout |
 |
| A Close up of the finished project |
 |
| Close up of the left side |


Ok, lets start from the beginning
I started with my January Studio Calico Kit & Add Ons
and then added some of my own bits to it
 |
| I chose 4 papers to work with from left to right Basic Grey designed for Studio Calico, AC Funny Valentine B-side, the grey is the B-side of the 1st one.. and last another Basic Grey designed for Studio Calico |
 |
| I grabbed my Studio Calico date stamp, and Prima Chalk Ink |
 |
| Here is a before and after of the Pink Paislee Artisan Chipboard. I sprayed them with Mister Huey's Water Color Ink then blotted them with paper towels |
 |
| I chose a doily, sequins, shipping tag, brads and a star to use |
 |
| I grabbed 3 washi tapes...the first one is by October Afternoon - Farm Fresh and the other 2 are from Freckled Fawn |
 |
| I have also chosen to heat emboss some wood veneer. The arrows are from Freckled Fawn, and the Heart from Studio Calico. I love AC Zing embossing powder, and chose Silver Metallic. Barbara Picinic taught me to use a glue dot on a piece of cardstock to hold the veneer down when embossing! Smart cookie!!!! |
 |
| Next I grabbed some October Afternoon Label stickers, Basic Grey Mini Alphas and My Minds Eye Enamel Dots (my personal fav!!!) |
 |
| I also chose Basic Grey True Love Stitched Labels and Alphas and Pink Paislee Secret Crush Paper Goods |
 |
| I added some washi tape to the top and bottom of the paper |
 |
| Next I grabbed my Mister Hueys |
 |
| I took the caps off them and splattered drops on my background paper |
 |
| Here I cut the paper to the sizes I wanted |
 |
| Next I added the papers and a doily |
 |
| Then I put the picture on |
 |
| Then I added some papers to the left side (I always try to balance it out, and use the same papers in different places on my layouts) |
 |
| I added the Heart next...and because I don't trust chipboard to stay stuck, I always add some glue to the back...I like a few, Aleenes Tacky Glue, Tombow, and Glossy Accents |
 |
| I then cut the shipping tag..I didn't want to waste the whole thing when I really only wanted the top to show...(at this point I should note, I never glue my stuff down at the edges, always in the middle, so that if I want to tuck something in I can) |
 |
| I then added a few foam dots to the back, to pop it off the page and give some dimension |
 |
| Notice how it pops up... |
 |
| I then add 1 foam dot to the top of this ticket embellishment. This will add some dimension |
 |
| See how it lifts up here?..... |
 |
| I then put the arrow and sequin down with a glue dot. The chipboard heart I added a bit of glue behind (even though its sticky...just my OCD kicking in) |
 |
| Next I want to add a sequin, and i want to put a tiny brad through it. In order to do this, I will need to poke a hole through the paper and picture. |
 |
| Adding the hole |
 |
| Sorry for the blurry shot...but this is the sequin with the brad through it |
 |
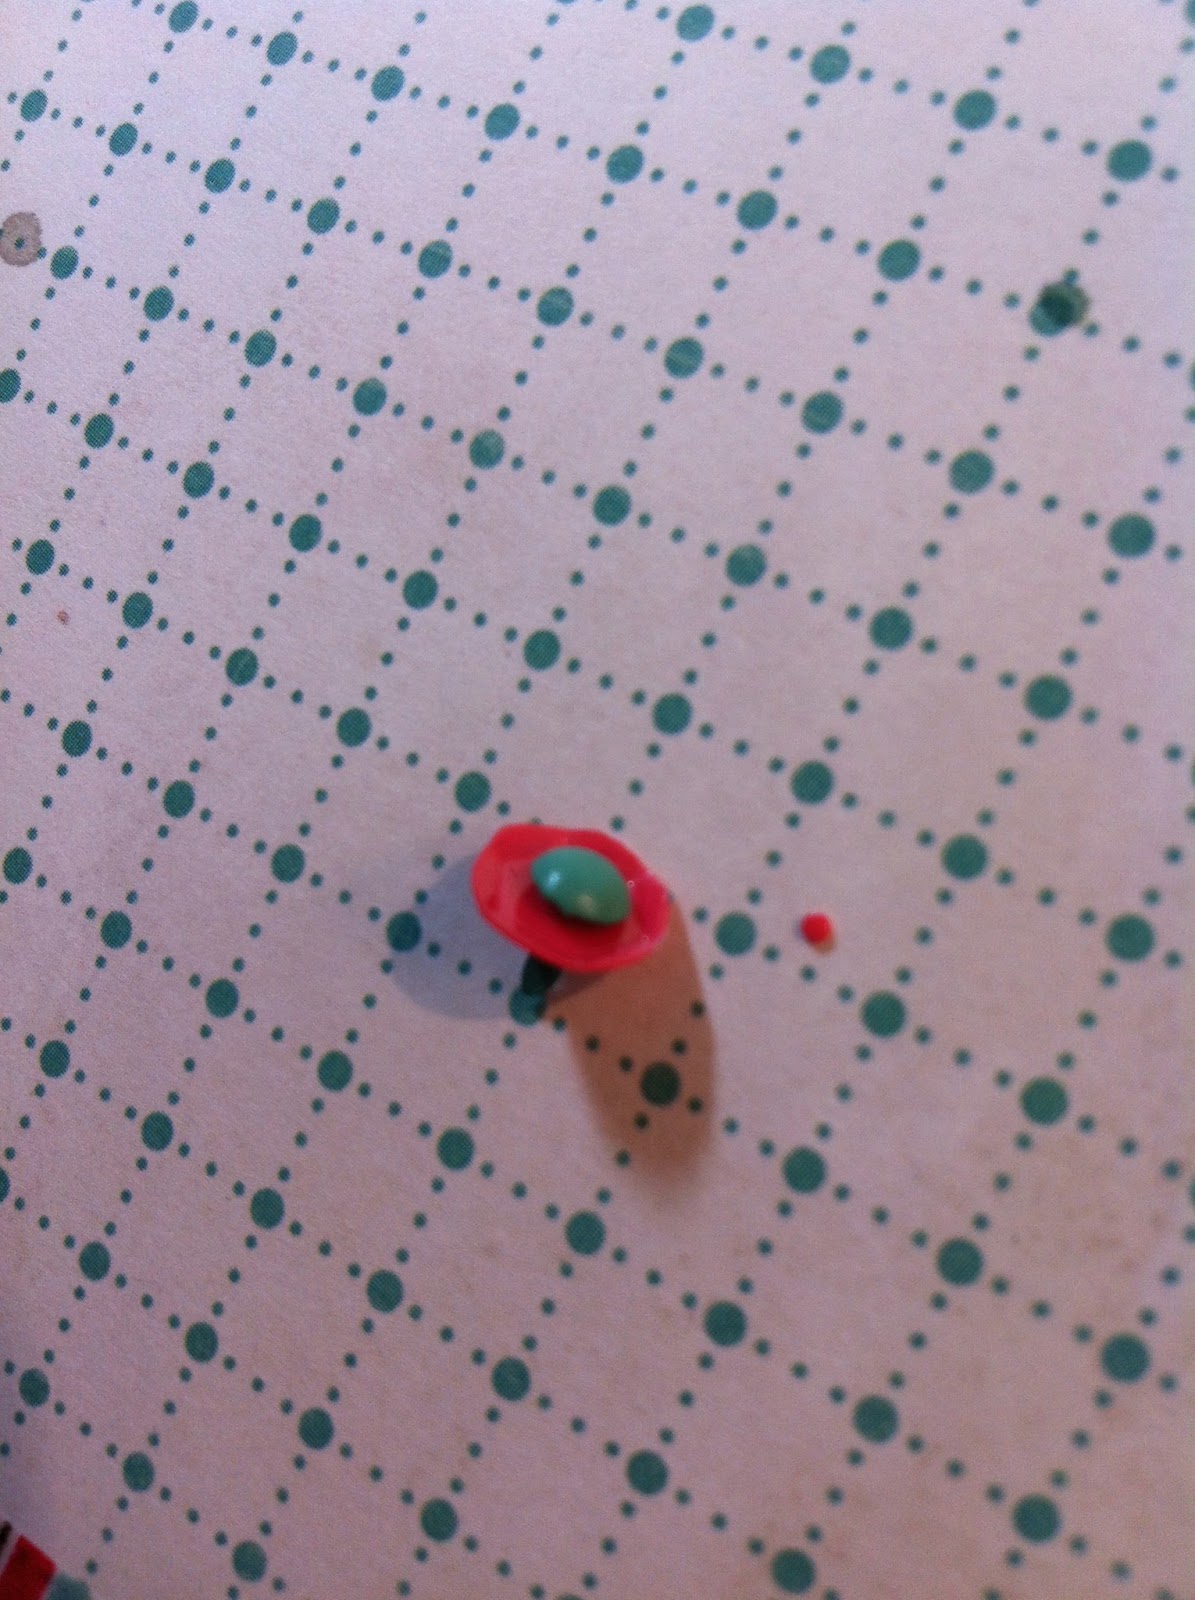
| And here it is! I also put the tiny star and the heart veneer down with a glue dot |
 |
| Here I am adding some foam dots to the top of another ticket |
 |
| Here is a close up of the embellishments on the left side of the page. I used Aleenes Tacky glue to hold the arrow veneer down, and again, some glue on the back of the heart chipboard...and I repeated the process with the sequin and brad |
 |
| I then added some of the Heart Washi...and because I didn't glue my papers at the edges it was simple to tuck it under...I also added a pink enamel dot from My Minds Eye |
 |
| Next I cut out one of the October Afternoon labels, and grab my date stamp and ink |
 |
| Here is the finished product |
 |
| Next I grabbed my Tim Holtz Tiny Attacher...(must have product) and used it to staple down the Basic Grey Stitched Labels. (notice how I could lift the edge of my paper..because I did not glue around the edges...) |
 |
| Close Up |
 |
| Here I started working on my title... I put the stickers right on the photo |
 |
| Here you can see that I put the Basic Grey True Love Alphas part on the photo (I also added some glue to the back....they were not sticky enough for my liking) and I also added one of the My Minds Eye Enamel Dots.. You can also see I decided to use the Star Washi here. It was easy to tuck under, because I did not glue to the edges |
 |
| I added the date with my Micron 05 black pen |
And once again, here is the finished project

another thing I wanted to point out is that I never stick anything down right away...I layer things, and set things on the page...when I get it where I like,
I usually take a picture with my phone, and then
take everything off and start glueing it all down...and if I forget, I have the photo on
my phone to refer back to!
If you have any questions, feel free to ask! I will respond back to everyone!


